Applying false eyelashes without tweezers is completely possible, and honestly, many people find it easier once they get the hang of using their fingers. Your fingertips give you more control and a better feel for pressure, especially around the corners. This guide walks you through the full process from start to finish using only your hands, along with tips for each Wink Lashes style and fixes for the most common application problems.
What You’ll Need (No Tweezers Required!)
Before you start, gather everything in one place so you are not searching mid-application with glue on your fingers.
- Your Wink Lashes pair (Pro, 3D, or HD Mink)
- Eyelash glue
- Small scissors for trimming
- Magnifying mirror
- Your fingers
A magnifying mirror is the one thing most beginners skip and then regret. It makes placement much more precise, especially when you are working without tweezers.
Step-by-Step Application – Fingers Only
Follow these steps in order for the cleanest, most secure application. This is the easiest way to apply false lashes when you are just starting out.
- Step 1: Measure and Trim — Hold the lash strip against your eye from the inner corner to the outer corner. If the lash extends past your outer corner, trim the excess from the outer end using small scissors. Never cut from the inner corner.
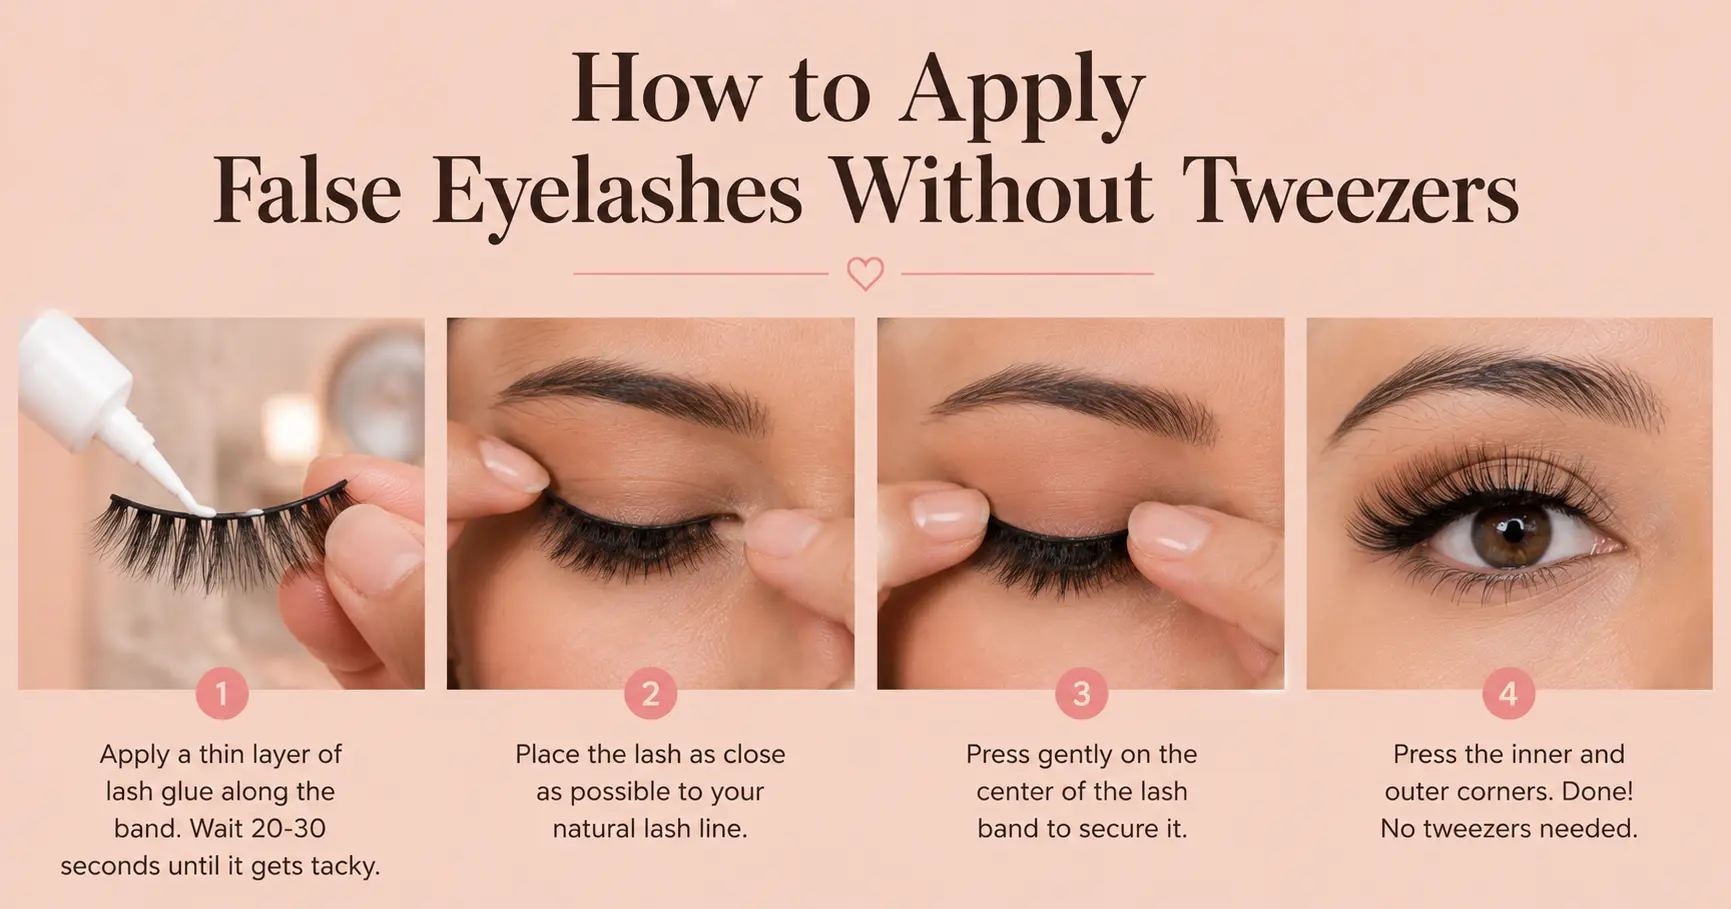
- Step 2: Apply Glue — Squeeze a thin, even line of glue along the lash band. Less is more here. Too much glue takes longer to dry and creates a mess. Once applied, wait 30 seconds until the glue turns slightly tacky before placing the lash.
- Step 3: Position from Center First — Look downward into your magnifying mirror. Place the center of the lash band onto the center of your eyelid, sitting about 1mm above your natural lash line. Starting from the center gives you the best alignment before securing the ends.
- Step 4: Press the Corners Down — Using your fingertip, press the inner corner down first, then the outer corner. Hold each corner for a few seconds with gentle, steady pressure. These two points are where lashes most commonly lift, so take your time here.
- Step 5: Blend Natural and False Lashes — Gently press your natural lashes and the false lashes together using your fingertip. This helps them sit as one unit rather than looking layered or separated.
- Step 6: Set with Eyeliner — Draw a thin line of eyeliner along the lash band. This conceals the band, fills any small gaps, and helps lock everything in place. A felt-tip liner works best for precision here.
Pro Tips for Different Wink Lashes Styles
Each Wink Lashes style has its own placement and handling notes. Using the right technique for your lash type makes a noticeable difference in how the final look turns out.
Pro Lashes
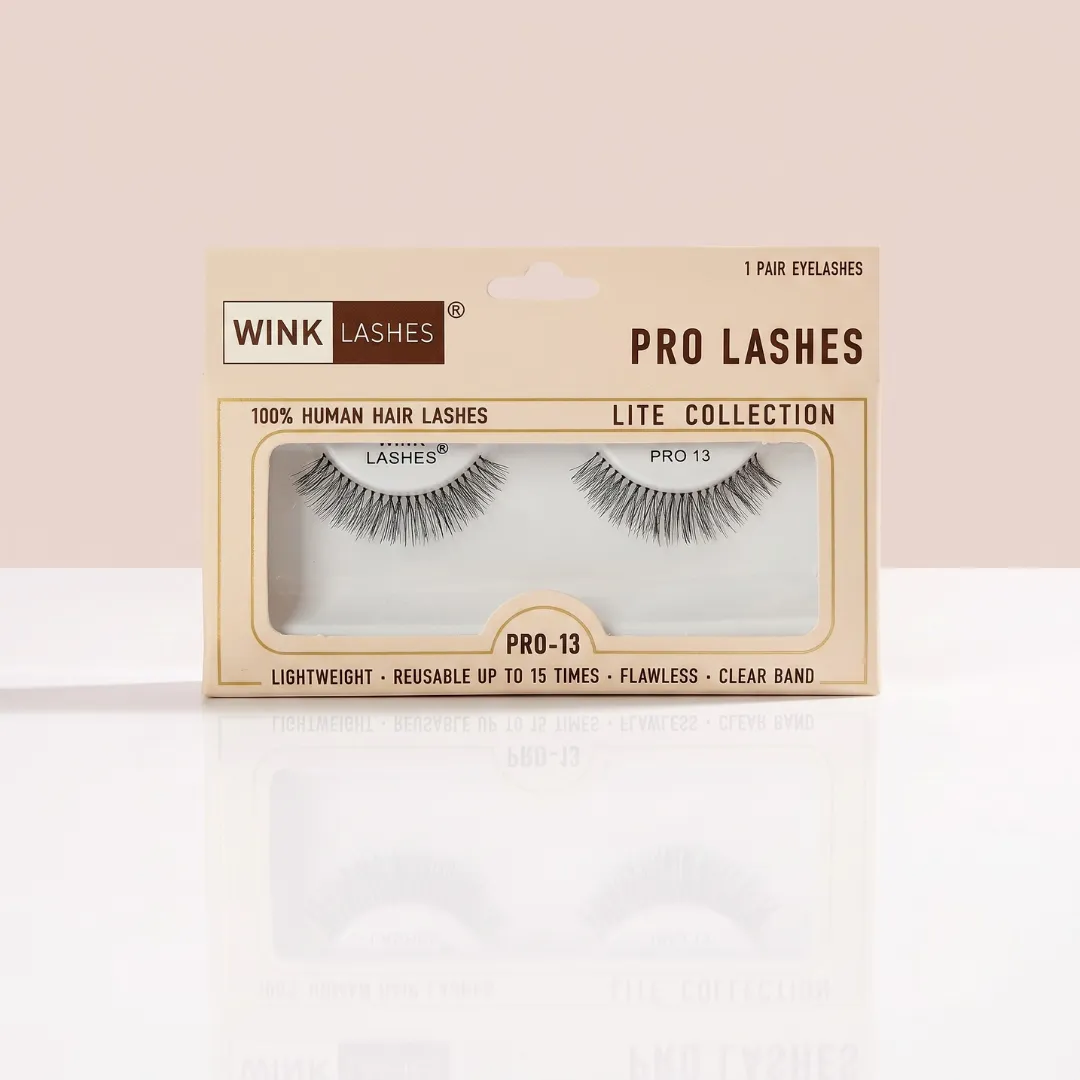
Pro Lashes are ideal for false eyelash application for beginners. The band is flexible, the volume is natural-looking, and you need very little glue to get a secure hold. Place them as close to your natural lash line as possible for a seamless finish. These are forgiving lashes, which means small positioning errors are easy to correct before the glue sets.
3D Double-Up Lashes
For the 3D style, place the lash slightly higher than usual to create a lifted, dramatic effect. Apply a little extra glue on both corners since the multi-layered design can make the ends heavier. Give the glue a full 40 seconds to get tacky before placement to avoid slipping.
HD Mink Lashes
HD Mink lashes have a feathery, delicate structure that needs careful handling. Avoid pulling or squeezing the lashes while applying. Use the tips of your fingers rather than your full finger pad when pressing. After use, gently peel off any dried glue and place them back in their tray to preserve their shape for multiple wears.
Common Application Mistakes (And How to Fix Them)
- Lash placed too close to the inner corner — This causes irritation and lifting. Always start placement from the center, then adjust inward carefully.
- Glue not tacky enough before placement — If the glue is still wet, the lash slides around. Wait the full 30 seconds after applying glue before touching the lash to your lid.
- Corners lifting after an hour — Apply a small dot of glue to the corner using a toothpick and press down again. This saves the look without needing to redo the whole lash.
- Lash band is visible — Add a thin eyeliner line to conceal it. Dark liner along the band makes false lashes look completely natural.
- Lashes look uneven on both eyes — Measure and trim both lashes together before applying glue. Holding them side by side helps you match the length precisely.
How to Remove Wink Lashes Without Damage
Removal done right keeps both your natural lashes and your Wink Lashes in good condition for reuse.
- Step 1: Soak a cotton pad in oil-free micellar water or a dedicated lash glue remover.
- Step 2: Hold the soaked pad against your closed eye for 20 to 30 seconds to soften the glue.
- Step 3: Starting from the outer corner, gently lift the lash band using your fingertip. Never pull from the center.
- Step 4: Peel the lash off slowly moving inward. If resistance is felt, pause and hold the soaked pad against that area again.
- Step 5: Remove any remaining glue from the lash band using your fingers and store the lash back in its original tray.
FAQs – Applying False Eyelashes
Q1: Can I apply false eyelashes without tweezers?
Yes, you can apply false eyelashes using only your fingers. Many people actually find finger application easier because it gives better pressure control, especially when pressing the corners and blending natural lashes with the false ones.
Q2: How long should I wait after applying lash glue?
Wait 25 to 30 seconds after applying glue before placing the lash. The glue should feel slightly tacky, not wet. Placing the lash too early causes sliding and poor adhesion that leads to lifting within hours.
Q3: Why do my false lashes keep falling off?
The most common reasons are not waiting for glue to get tacky, applying too little glue at the corners, or placing the lash on oily skin. Clean your eyelid before application and ensure corners have adequate glue coverage for lasting hold.
Q4: Where exactly should I place false eyelashes?
Place false eyelashes about 1mm above your natural lash line, not on your waterline. Start from the center of your lid, then adjust the inner and outer corners. This placement looks the most natural and stays secure throughout the day.
Q5: How do beginners apply false eyelashes easily?
Beginners should start with flexible, natural-style lashes like Wink Lashes Pro, use a magnifying mirror, trim lashes before gluing, and wait for glue to get tacky. Applying from the center outward and finishing with eyeliner makes the process much simpler.