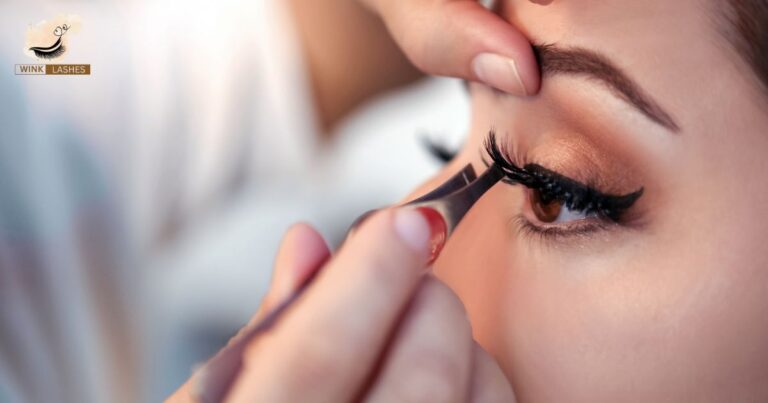
False eyelashes can completely elevate your look and give your eyes that fluttery, dramatic, or naturally full vibe we all love. But let’s be real; applying them isn’t always as effortless as beauty influencers make it seem. Whether you’re a first-timer or someone who still struggles with getting both lashes to sit just right, chances are, you’ve made (or are still making) a few common mistakes. The good news? Once you know what to look out for, the whole process becomes much smoother. So, let’s break down the top 5 mistakes to avoid while applying false eyelashes and how to fix them.
These are 5 Mistakes to Avoid While Applying False Eyelashes
1. Skipping the Lash Trim
One-size-fits-all is not a thing when it comes to false eyelashes. Most lash bands are designed to fit a range of eye shapes, which means they often come longer than necessary. Wearing lashes that are too long for your eye shape can make your eyes look droopy or feel heavy, not to mention they’re more likely to lift at the corners.
How to Fix This
Always measure the lash strip against your eye before applying glue. Trim from the outer edge (never the inner corner) a few millimeters at a time. Your lashes should begin a little away from your inner tear duct and end right where your natural lashes stop.
2. Using Too Much (or Too Little) Glue
Lash glue is a tricky thing. Too little, and your lashes won’t stick, especially at the ends. Too much, and you’ve got a sticky, goopy mess that smears your eyeshadow or transfers to your lid.
How to Fix This
Apply a thin, even line of lash glue along the band and wait about 30 seconds for it to get tacky. That tacky texture helps the lashes grip better and stay in place. Pro tip: focus a bit more glue on the ends of the lash band and that’s where lifting tends to happen.
3. Applying Lashes While the Glue Is Still Wet
If you’ve ever had your lashes slip and slide all over your lid right after placing them, you probably jumped the gun. Wet glue won’t hold your lashes in place and it needs a moment to get sticky first.
How to Fix This
After applying the glue, give it time to get tacky. This sweet spot is usually around 30 seconds. If you’re in a rush, gently blow on the lash band or wave it around a bit to speed up the drying. Once the glue is tacky, you’ll find the lash easier to position and it’ll actually stay put.
Read Also – A Beginner’s Guide to Applying Eyelashes
4. Not Pressing the Lashes into Place
Just plopping the lash strip on your eyelid and hoping for the best won’t give you a seamless finish. If you don’t press it into place, it may not bond well and could lift at the corners, especially as the day or night goes on.
How to Fix This
Use tweezers, your fingers, or a lash applicator to gently press the strip down along your lash line. Press the center first, then the inner and outer corners. You can also press your natural lashes and falsies together using a clean lash curler or the back of your tweezers for a more blended, natural look.
5. Skipping the Eyeliner or Mascara Step
Unless your lash application is flawless (and even then!), gaps between your natural lashes and the falsies can make your look appear unfinished or fake.
How to Fix This
Apply a thin line of eyeliner along your lash line to conceal the band and fill in any gaps. After your lashes are on, add a coat of mascara to blend your natural lashes with the falsies. Even if your falsies are already thick, this step helps unify everything and gives a more cohesive, polished result.
Bonus Tip for Applying False Lashes:
False lashes are all about patience and practice. Every eye shape is different, and sometimes, it takes a bit of trial and error to find the lashes and technique that work best for you. Don’t be discouraged if they don’t look perfect the first few times, it gets easier! Avoiding these common mistakes will put you on the fast track to becoming a lash pro.


